
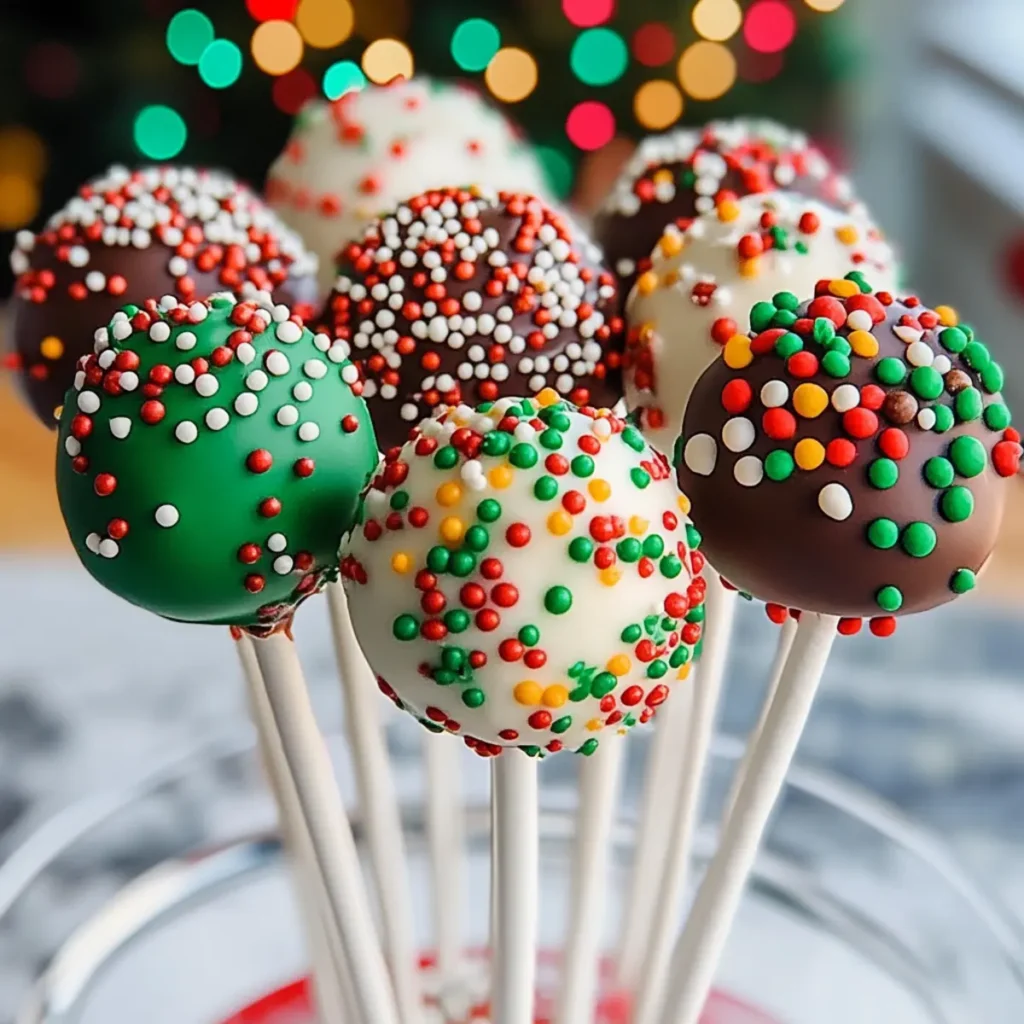
The holiday season is practically knocking at the door, and what better way to usher in the festivities than with some delightful Holiday Cake Pops? Imagine these cute little bites, each a divine blend of moist cake, creamy frosting, and a chocolatey coating, all topped with colorful sprinkles. They’re as joyous to look at as they are bursting with flavor, making them the perfect sweet treat for holiday gatherings, gift giving, or just indulging yourself while wrapped in a cozy blanket by the fireplace.
If you’ve ever looked at a fancy dessert table and thought, “I could never make that,” then fear not! Holiday Cake Pops are ridiculously easy to make, but they’ll have everyone believing you’re a professional pastry chef. These treats are a staple at celebrations, bringing smiles to faces whether enjoyed at a cheerful family gathering or admired at a holiday party. Prepare to dive into a world of moist cake artistry that will leave your friends begging for the recipe!
Why You'll Love This Holiday Cake Pops
- These incredible Holiday Cake Pops transform simple everyday ingredients into restaurant-quality flavors that will blow your mind completely.
- Foolproof recipe techniques guarantee perfect results every single time, making even novice cooks feel like professional chefs instantly.
- Stunning visual appeal with gorgeous colors and mouthwatering aromas creates the ultimate Instagram-worthy dish for any special occasion.
- Endlessly adaptable for different dietary needs while working beautifully for meal prep, date nights, or entertaining large groups effortlessly.
Ingredients for Holiday Cake Pops
Here’s what you’ll need to make this delicious Holiday Cake Pops:
1 box (15.25 oz) cake mix – Choose your favorite flavor like vanilla, chocolate, or red velvet to match your festive theme.
1 cup buttercream frosting – Using homemade frosting takes it up a notch, but store-bought works just fine!
12 oz candy melts – Opt for vibrant colors that brighten up your cake pops. You can find them in white, dark, and milk chocolate.
10 lollipop sticks – You can use standard or eco-friendly sticks; just ensure they’re sturdy enough to hold the pops.
1/4 cup colorful sprinkles – These will add that fun and festive touch, so let your creativity shine with assorted shapes and colors!
How to Make Holiday Cake Pops
Follow these simple steps to prepare this delicious Holiday Cake Pops:
Step 1: Preheat and Prepare
Preheat your oven to 350°F (175°C). Prepare the cake mix according to the package instructions and pour it into a greased baking pan. Bake until a toothpick comes out clean, then let it cool completely.
Step 2: Crumble the Cake
Once the cake is cool, crumbling the cake is your next mission! Place the cake in a large bowl and break it into fine pieces, almost like you’re making a sandcastle, but with cake.
Step 3: Mix in the Frosting
Time to get your hands a little sticky! Add about half of the buttercream frosting into the crumbled cake. Mix it well until it forms a dough-like consistency—just enough to roll into balls. If it’s too crumbly, add more frosting for cohesion.
Step 4: Roll and Chill
Roll the mixture into 1-inch balls, which will be the actual cake pops. Place them on a baking sheet lined with parchment paper and refrigerate them for about 30 minutes. This will help them firm up and be less prone to breaking while coating.
Step 5: Prepare Your Coating
While the balls chill, melt the candy melts according to the package instructions. Stir until smooth and creamy because nobody likes clumpy chocolate.
Step 6: Dip and Decorate
Take your lollipop sticks and dip one end into the melted candy before inserting it into each chilled cake ball. This anchors the stick in place. Next, dip each cake pop into the melted coating, allowing the excess to drip off—be prepared for a chocolatey mess, but that’s part of the fun! Toss on those colorful sprinkles while the icing is still wet for extra flair.
Finally, stick the pops upright in a Styrofoam block or egg carton and let them fully set. This will yield the cutest little confections that are just waiting to be devoured!
Hold onto your mittens because when served with a cup of hot cocoa or spiced cider, these Holiday Cake Pops are the perfect treat to warm up your winter nights. Just remember to take a photo before you take a bite; your friends might not believe their eyes (or their taste buds) when they see just how appealing these little guys are!

This showstopping Holiday Cake Pops delivers restaurant-quality results using simple ingredients you probably already have at home. The perfect balance of textures and flavors creates an unforgettable dining experience that will have everyone asking for seconds. Picture-perfect presentation with vibrant colors makes this dish absolutely Instagram-worthy and guaranteed to impress any dinner guest. Incredibly versatile recipe that works beautifully for weeknight dinners, meal prep, special occasions, or even outdoor entertaining sessions.
Perfecting Holiday Cake Pops Cooking Process
To ensure a seamless cooking experience, start by preheating your oven and preparing the cake mix. While it bakes, gather your decorations and melt the candy melts. Once the cake cools, crumble, mix, and roll into balls to keep everything organized and efficient.
Add Your Touch to Holiday Cake Pops
Get creative with your Holiday Cake Pops by using flavored cake mixes like red velvet or lemon. Add a dash of peppermint extract for a festive twist, or swap out the sprinkles for crushed nuts or coconut for different textures and tastes.
Storing & Reheating Holiday Cake Pops
Store your Holiday Cake Pops in an airtight container at room temperature for up to three days. If you have leftovers, refrigerate them for a week. To enjoy later, let them sit out for a few minutes before serving for the best flavor and texture.
Chef's Helpful Tips for Holiday Cake Pops
- This professional-quality Holiday Cake Pops relies on precise timing and temperature control to achieve restaurant-standard results consistently.
- Master the art of mise en place by prepping all ingredients beforehand, ensuring smooth execution and preventing any last-minute cooking disasters.
- The secret lies in layering flavors throughout the cooking process rather than seasoning only at the end for maximum depth.
- Pro tip: let the finished dish rest for optimal texture and flavor development before serving to hungry guests waiting eagerly.
Nothing quite matches the joy I felt when I made these Holiday Cake Pops for my brother’s birthday. His friends couldn’t stop raving about them, and I’ll never forget the look on his face when he took the first bite.
FAQs About Holiday Cake Pops
What are Holiday Cake Pops?
Holiday Cake Pops are delightful bite-sized treats made from crumbled cake mixed with frosting, shaped into balls, and coated with colorful candy melts. These festive desserts are perfect for celebrations and gatherings, bringing smiles with their vibrant appearance and sweet flavors. You can customize them with various cake flavors and toppings, making them a versatile addition to any holiday event. Whether enjoyed at a birthday party, holiday gathering, or just as a fun treat, Holiday Cake Pops are sure to impress guests of all ages.
How can I customize my Holiday Cake Pops?
You can get creative with your Holiday Cake Pops by experimenting with different flavored cake mixes, such as red velvet or chocolate mint. Adding spices like cinnamon or nutmeg can infuse festive flavors. Instead of using traditional sprinkles, consider topping them with crushed nuts or coconut for added texture. Don’t hesitate to dip them in white chocolate for a unique twist. Your imagination is the limit when it comes to personalizing these treats for your holiday parties.
How do I store leftover Holiday Cake Pops?
To keep your Holiday Cake Pops fresh, store them in an airtight container at room temperature for up to three days. If you’re lucky enough to have leftovers, you can refrigerate them for about a week. Before serving, allow them to come to room temperature, as this enhances their flavor and texture. Avoid freezing them, as it can alter the candy coating. With the right storage, these treats can remain delicious for days after your celebration.
Can kids help make Holiday Cake Pops?
Absolutely! Making Holiday Cake Pops is a fun and interactive activity that kids can enjoy. They can assist in crumbling the cake, rolling the mixture into balls, and decorating with sprinkles or other toppings. Supervise any melting of the candy, as it involves heat. This creative process not only makes for a delicious treat but also provides a wonderful opportunity for family bonding. Enjoy the laughter and joy as everyone participates in making these festive delights together.
Conclusion for Holiday Cake Pops
In conclusion, Holiday Cake Pops are the perfect festive treat for any gathering, combining fun and flavor in a delightful bite-sized package. With their vibrant colors and endless customization options, they bring joy to both kids and adults alike. Remember to store leftover Holiday Cake Pops properly to maintain their deliciousness. This recipe is sure to become a treasured part of your holiday traditions, so gather your loved ones and enjoy making these sweet creations together!
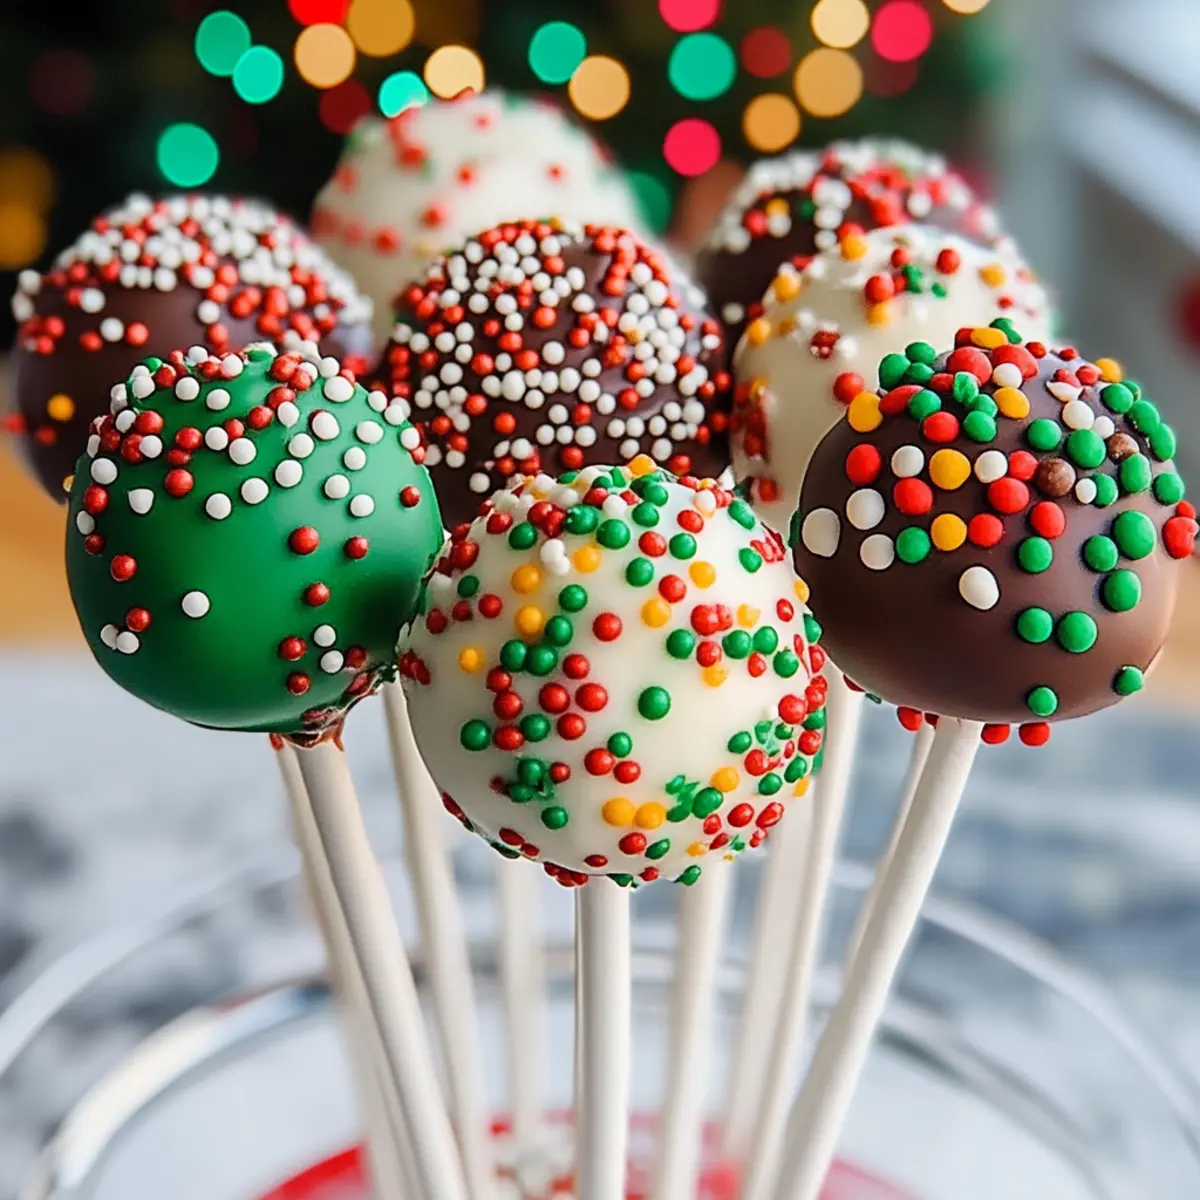
Holiday Cake Pops
Ingredients
Equipment
Method
- Preheat the oven to 350°F (175°C). Prepare the cake mix according to package instructions and bake. Allow to cool completely.
- Crumble the cooled cake into fine pieces in a large bowl.
- Mix half of the frosting into the crumbled cake until a dough-like consistency forms.
- Roll mixture into 1-inch balls and refrigerate for 30 minutes.
- Melt candy melts as per package instructions. Dip one end of each lollipop stick into melted candy before inserting it into each ball.
- Dip each cake pop into melted candy until fully coated, allowing excess to drip off.
- Decorate with sprinkles before the coating hardens. Set upright in Styrofoam or egg carton until completely set.