
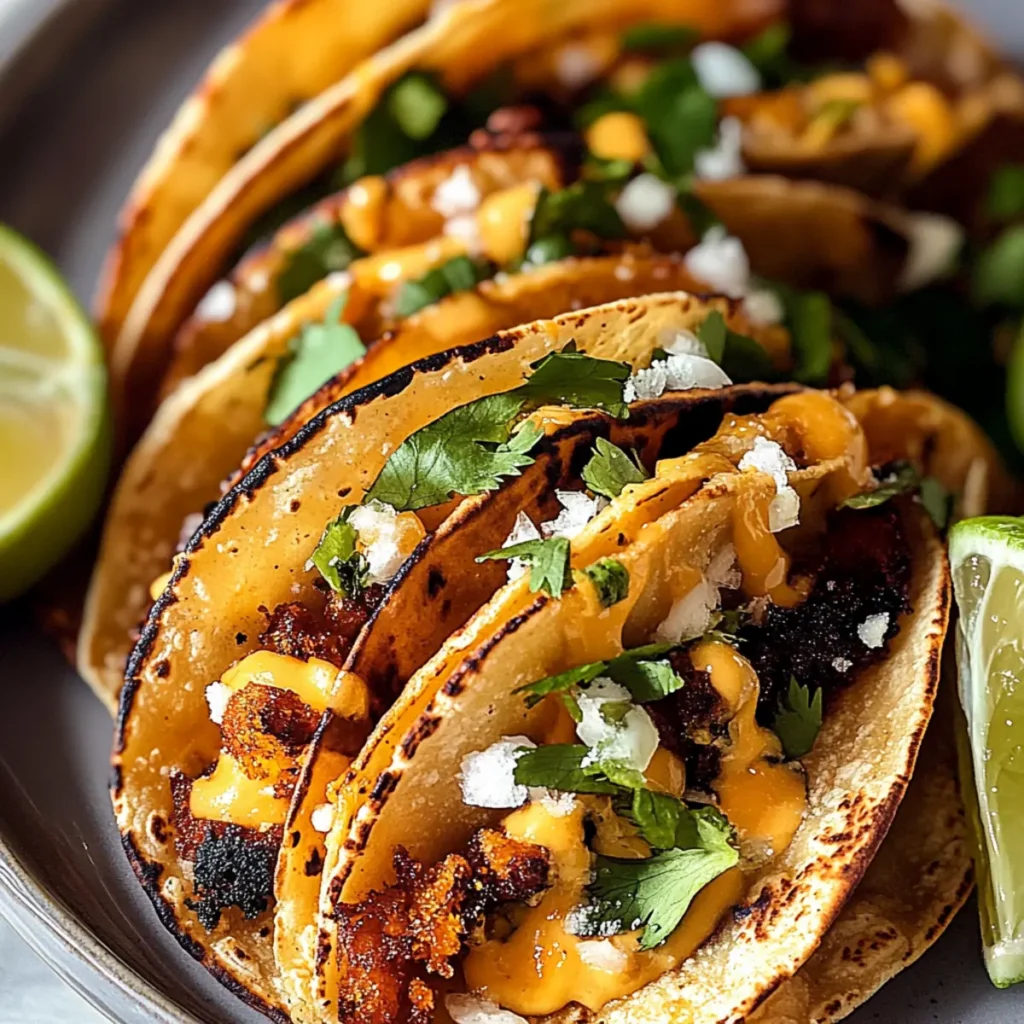
There’s something incredibly satisfying about sinking your teeth into a crispy taco filled with molten, burnt cheese that stretches like it’s playing a game of tug-of-war. Yes, you read that right—these Burnt Cheese Tacos are not only a feast for the eyes but also a melting dream for your taste buds. Imagine the delicious crunch of the tortilla giving way to a golden, cheesy inside, all while the savory filling adds a unique depth of flavor that’s hard to resist.
Picture this: It’s taco night at your house. The kids are racing around, someone’s barking for the dog to stop digging through the trash, and your partner is just about to ask where the takeout menus are. But wait! Instead of giving in to chaos, you whip up these show-stopping Burnt Cheese Tacos in just 25 minutes. They are quick, delicious, and will leave everyone wondering if you’ve been hiding your culinary skills. So, buckle up for a flavor adventure that’s both simple and uniquely rewarding.
Why You'll Love This Burnt Cheese Tacos
- This incredible Burnt Cheese Tacos transforms simple everyday ingredients into restaurant-quality flavors that will blow your mind completely.
- Foolproof recipe techniques guarantee perfect results every single time, making even novice cooks feel like professional chefs instantly.
- Stunning visual appeal with gorgeous colors and mouthwatering aromas creates the ultimate Instagram-worthy dish for any special occasion.
- Endlessly adaptable for different dietary needs while working beautifully for meal prep, date nights, or entertaining large groups effortlessly.
Ingredients for Burnt Cheese Tacos
Here’s what you’ll need to make this delicious Burnt Cheese Tacos:
4 flour tortillas – Choose the softer, larger ones for easy folding and maximum filling. Alternatively, corn tortillas can be used for a gluten-free option.
2 cups shredded cheese – A mix of Monterey Jack and cheddar gives a great flavor profile, while pre-shredded bags make prep even easier.
1 lb ground beef or chicken – Go for lean cuts to keep the tacos from getting greasy; turkey can also work well for a lighter option.
2 tsp cumin – This spice adds warmth and earthiness to the meat, so don’t skip it!
2 tsp chili powder – A bit of chili powder gives them the perfect kick of flavor without overpowering the dish.
1 tsp garlic powder – This provides that essential savory component. Fresh garlic can also be used for a punchier taste.
½ cup fresh salsa – Use homemade or store-bought for a burst of freshness; consider choosing a medium or hot variety for more adventure.
¼ cup sour cream – This adds a creamy touch that balances the spices beautifully. You can substitute yogurt for a lighter twist.
How to Make Burnt Cheese Tacos
Follow these simple steps to prepare this delicious Burnt Cheese Tacos:
Step 1: Preheat Your Skillet
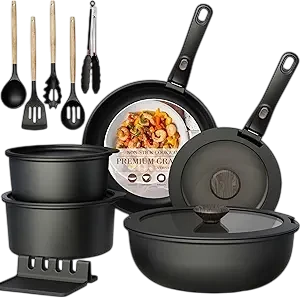
Start by preheating a non-stick skillet over medium-high heat. It’s crucial to get that perfect searing action going. A hot skillet is your friend—the cheese is going to love it.
Step 2: Prepare Your Meaty Filling
In a bowl, combine your ground meat with cumin, chili powder, and garlic powder. Mix well until the spices are evenly distributed. Transfer this mixture to your preheated skillet and cook until the meat is browned and cooked through, stirring occasionally.
Step 3: Assemble the Tacos
Place one flour tortilla in the skillet. Sprinkle a generous layer of shredded cheese over half of the tortilla and then add a scoop of the beautifully seasoned meat on top.
Step 4: Grill for Crispy Perfection
Fold the tortilla in half to cover the filling. Allow it to cook for a couple of minutes until the cheese is beautifully molten and the edges of the tortilla are crispy and golden.
Step 5: Flip with Care
Using a spatula, carefully flip the taco and cook for another two minutes or until both sides are perfectly golden brown. This part is like the dramatic reveal of a magic trick—you want to see that glorious cheese stretched and melted.
Step 6: Serve with Flair
Once cooked, remove the taco from the skillet and serve immediately, topping it with fresh salsa and a dollop of sour cream. The moment of glory has arrived—these beauties are ready to be devoured.
Tacos have a knack for bringing flavor and fun to any occasion, and with this Burnt Cheese Tacos recipe, you’ll never be far from a crowd-pleaser. They are perfect for busy weeknights, casual gatherings with friends, or that moment you just want to indulge in some cheesy goodness. So, roll up your sleeves and get ready for a flavor sensation that’s simple, quick, and oh-so-delicious. Happy cooking!
You Must Know About Burnt Cheese Tacos
- This showstopping Burnt Cheese Tacos delivers restaurant-quality results using simple ingredients you probably already have at home.
- The perfect balance of textures and flavors creates an unforgettable dining experience that will have everyone asking for seconds.
- Picture-perfect presentation with vibrant colors makes this dish absolutely Instagram-worthy and guaranteed to impress any dinner guest.
- Incredibly versatile recipe that works beautifully for weeknight dinners, meal prep, special occasions, or even outdoor entertaining sessions.
Perfecting Burnt Cheese Tacos Cooking Process
Start by browning the seasoned ground meat for optimal flavor. While that’s cooking, lay one tortilla in the skillet, layer it with cheese, and add the meat. Fold and cook both sides to crispy perfection, achieving that lovely burnt cheese magic.
Add Your Touch to Burnt Cheese Tacos
Feel free to swap out the ground beef or chicken for turkey, shrimp, or even black beans for a vegetarian twist. Spice things up with different seasonings like paprika or add diced jalapeños for extra heat.
Storing & Reheating Burnt Cheese Tacos
Store leftovers in an airtight container in the fridge for up to three days. To reheat, place them in a skillet on medium heat until warmed through, ensuring the cheese gets that deliciously gooey texture again.
Chef's Helpful Tips for Burnt Cheese Tacos
- This professional-quality Burnt Cheese Tacos relies on precise timing and temperature control to achieve restaurant-standard results consistently.
- Master the art of mise en place by prepping all ingredients beforehand, ensuring smooth execution and preventing any last-minute cooking disasters.
- The secret lies in layering flavors throughout the cooking process rather than seasoning only at the end for maximum depth.
- Pro tip: let the finished dish rest for optimal texture and flavor development before serving to hungry guests waiting eagerly.
Sharing a plate of these tacos made me an instant hero at a friend’s game night, with people raving about the crispy cheese and perfectly spiced filling. The best praise? “You’ve changed taco night forever!”
FAQs About Burnt Cheese Tacos
What is Burnt Cheese Tacos?
Burnt Cheese Tacos are a delightful twist on traditional tacos, featuring crispy, molten cheese that adds an exciting layer of flavor and texture. The recipe combines flour tortillas stuffed with seasoned ground beef or chicken, topped with gooey cheese and served with fresh salsa and sour cream. The process involves cooking the tortillas until they reach a perfect golden brown hue, resulting in an irresistible meal that’s both comforting and indulgent.
How do you make Burnt Cheese Tacos?
Making Burnt Cheese Tacos is refreshingly simple. Start by browning your choice of ground meat seasoned with cumin, chili powder, and garlic powder in a skillet. Then, lay a tortilla in the pan, sprinkle it with cheese, and add the meat before folding it over. Cook until the cheese melts and the edges are crispy, and then flip to achieve a lovely golden-brown finish. Easy peasy taco perfection!
Can I customize my Burnt Cheese Tacos?
Absolutely! The beauty of Burnt Cheese Tacos lies in their versatility. You can swap the ground beef or chicken for turkey, shrimp, or even black beans for a vegetarian option. Spice it up with hot sauces and additional seasonings like paprika or oregano. Add toppings like avocado, diced tomatoes, or jalapeños to tailor the dish to your taste. Let your creativity flow!
How should I store leftover Burnt Cheese Tacos?
To keep your leftover Burnt Cheese Tacos fresh, store them in an airtight container in the refrigerator for up to three days. When it comes time to reheat, simply place them in a skillet on medium heat until they are warmed through. This method restores that deliciously gooey cheese texture while ensuring your tacos taste just as good as on the first day. Enjoy every bite!
Conclusion for Burnt Cheese Tacos
In summary, Burnt Cheese Tacos offer a delightful combination of crispy, cheesy goodness and flavorful fillings that make them a crowd-pleaser. This quick recipe is perfect for weeknight dinners or entertaining guests, ensuring everyone leaves the table satisfied. With room for customization and easy storage options, you can enjoy this tasty meal time and time again. Get ready to elevate your taco night with these irresistible Burnt Cheese Tacos!

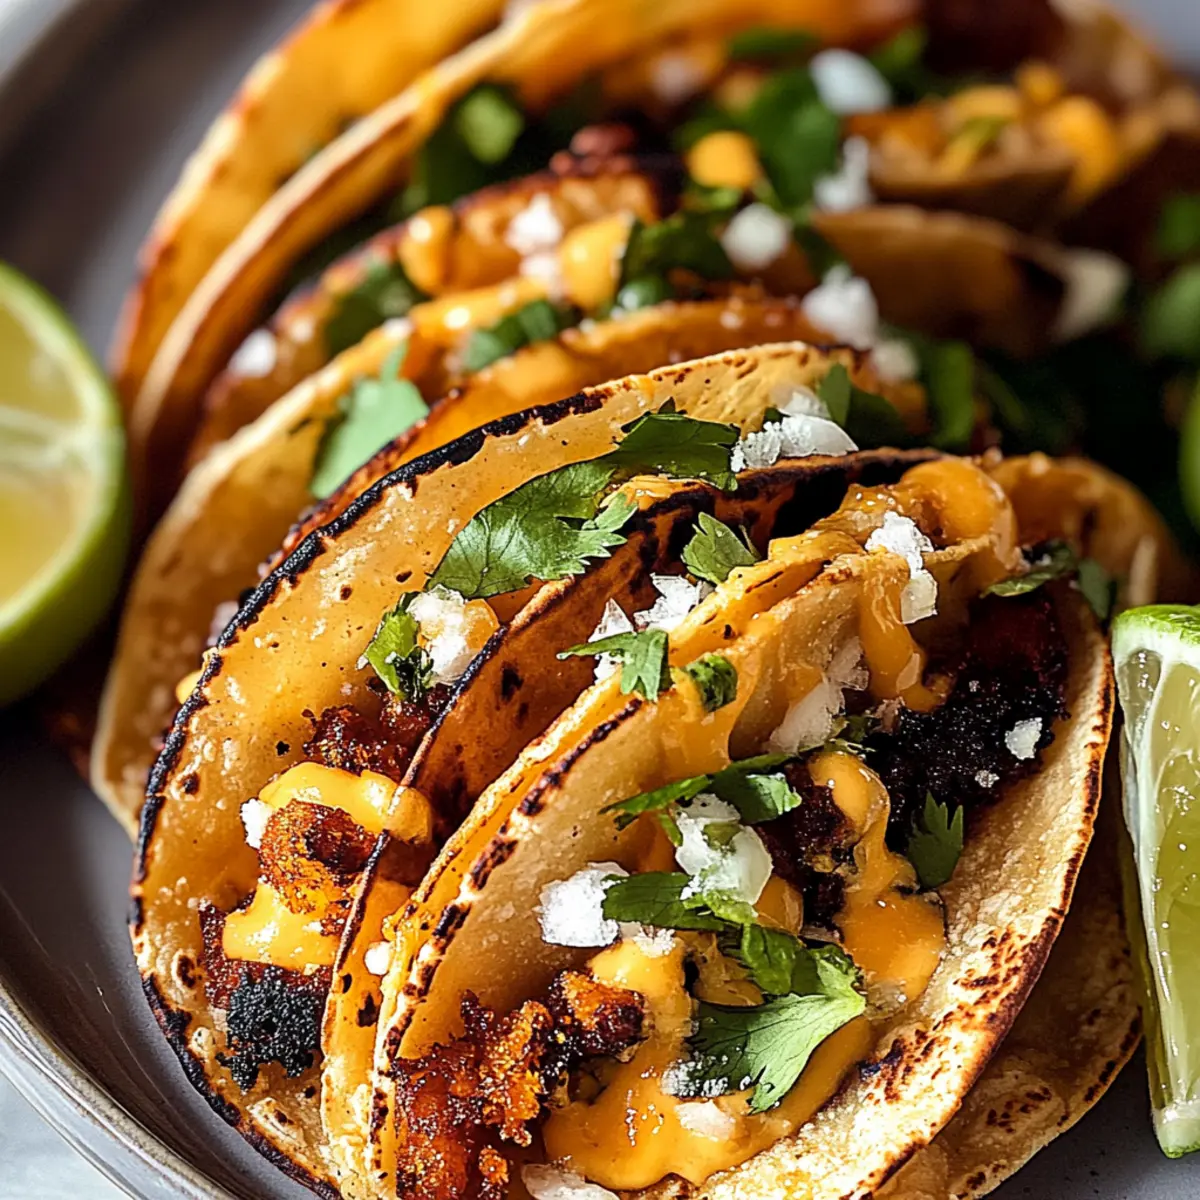
Burnt Cheese Tacos
Ingredients
Equipment
Method
- Preheat a non-stick skillet over medium-high heat.
- In a bowl, mix the ground meat with cumin, chili powder, and garlic powder. Cook in the skillet until browned.
- Place one tortilla in the skillet; add a layer of cheese over half and top with cooked meat.
- Fold the tortilla to cover the filling. Cook until cheese is molten and edges are crispy.
- Carefully flip the taco and cook until both sides are golden brown, about 2 minutes.
- Serve topped with fresh salsa and sour cream.