
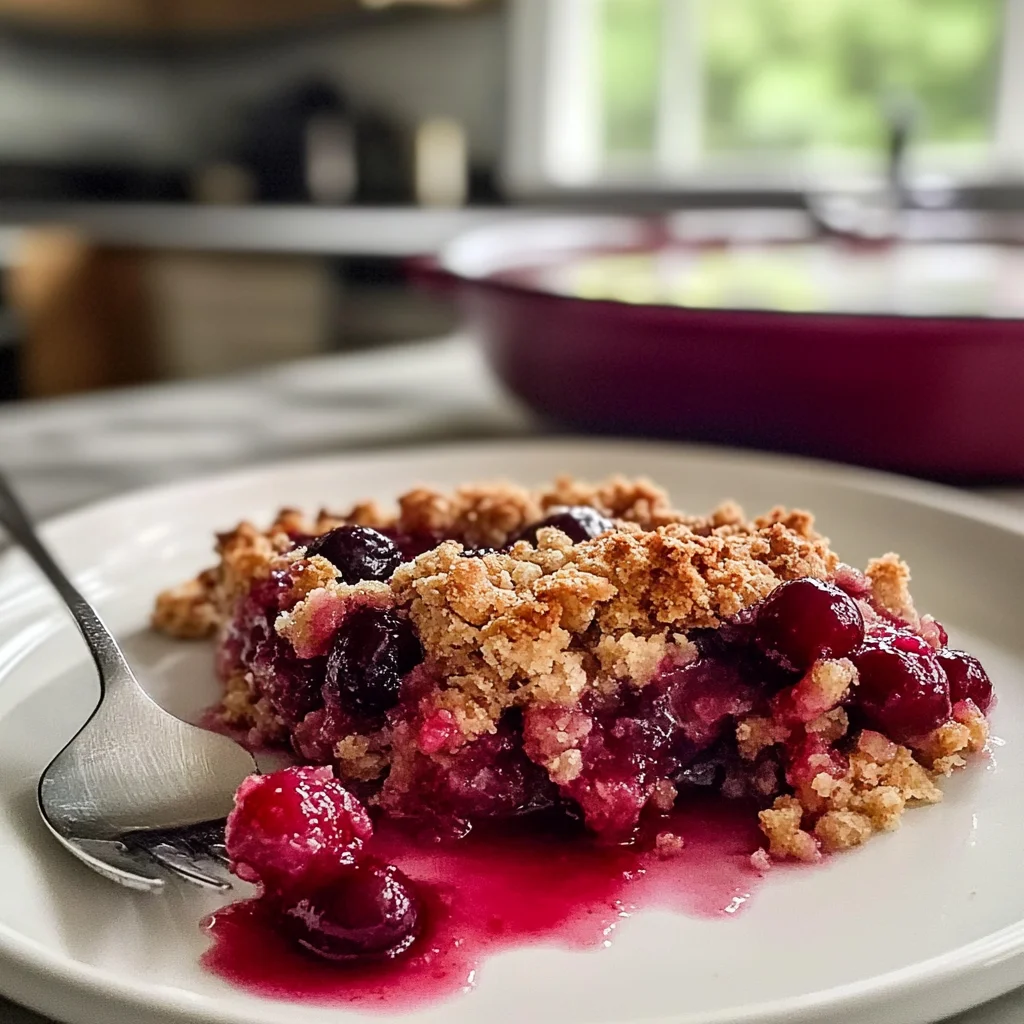
Imagine sinking your spoon into a warm bowl of Cherry Crisp, where the sweet, juicy cherries burst with flavor, mingling perfectly with a crunchy oat and almond topping that promises to tickle your taste buds. The aroma wafts through the air, inviting you to indulge in this delightful dessert that’s not just a treat but an experience filled with nostalgia and sweetness.
Every bite of Cherry Crisp transports me back to sun-drenched summer afternoons spent in my grandmother’s kitchen, where laughter mingled with the scent of baking fruit. This dessert is perfect for cozy family gatherings or spontaneous weeknight cravings, making it a must-try for anyone who craves a comforting yet exhilarating flavor adventure.
Why Will You Keep Making Cherry Crisp?
Deliciously sweet fresh cherries combine perfectly with a touch of vanilla and lemon juice, creating a flavor explosion in every bite. Quick and easy to prepare, this delightful dessert only takes 15 minutes of prep time! Versatile for any occasion, whether it’s a family dinner or a summer picnic, this cherry crisp is sure to impress. Crowd-pleasing appeal means everyone will be coming back for seconds, and the crunchy oat almond topping adds just the right texture to balance the juicy filling. Treat yourself to this irresistible dessert that’s both comforting and absolutely satisfying!
Cherry Crisp Ingredient List
For the Filling
- 4 cups fresh cherries, pitted – Use ripe, sweet cherries for the best flavor in your Cherry Crisp.
- 1 cup granulated sugar – Adjust based on the sweetness of your cherries; you can decrease if they are very sweet.
- 2 tablespoons cornstarch – This helps thicken the cherry juices as they cook.
- 1 teaspoon vanilla extract – Adds a warm, inviting aroma to your filling.
- 1 teaspoon lemon juice – Enhances the flavor of the cherries and adds a touch of brightness.
For the Crisp Topping
- 1 cup old-fashioned oats – These provide a hearty base for your crunchy topping.
- 1/2 cup all-purpose flour – Keeps the crisp light and allows it to brown nicely in the oven.
- 1/2 cup brown sugar (packed) – Adds rich sweetness and contributes to a caramel-like flavor.
- 1/2 cup unsalted butter (melted) – Binds the topping together while adding richness and flavor.
- 1/2 cup sliced almonds (optional) – Adds a delightful crunch and nutty flavor to your topping.
- 1/2 teaspoon cinnamon (optional) – Infuses warmth and depth into your Cherry Crisp, enhancing its flavors beautifully.
Step-by-Step Cherry Crisp
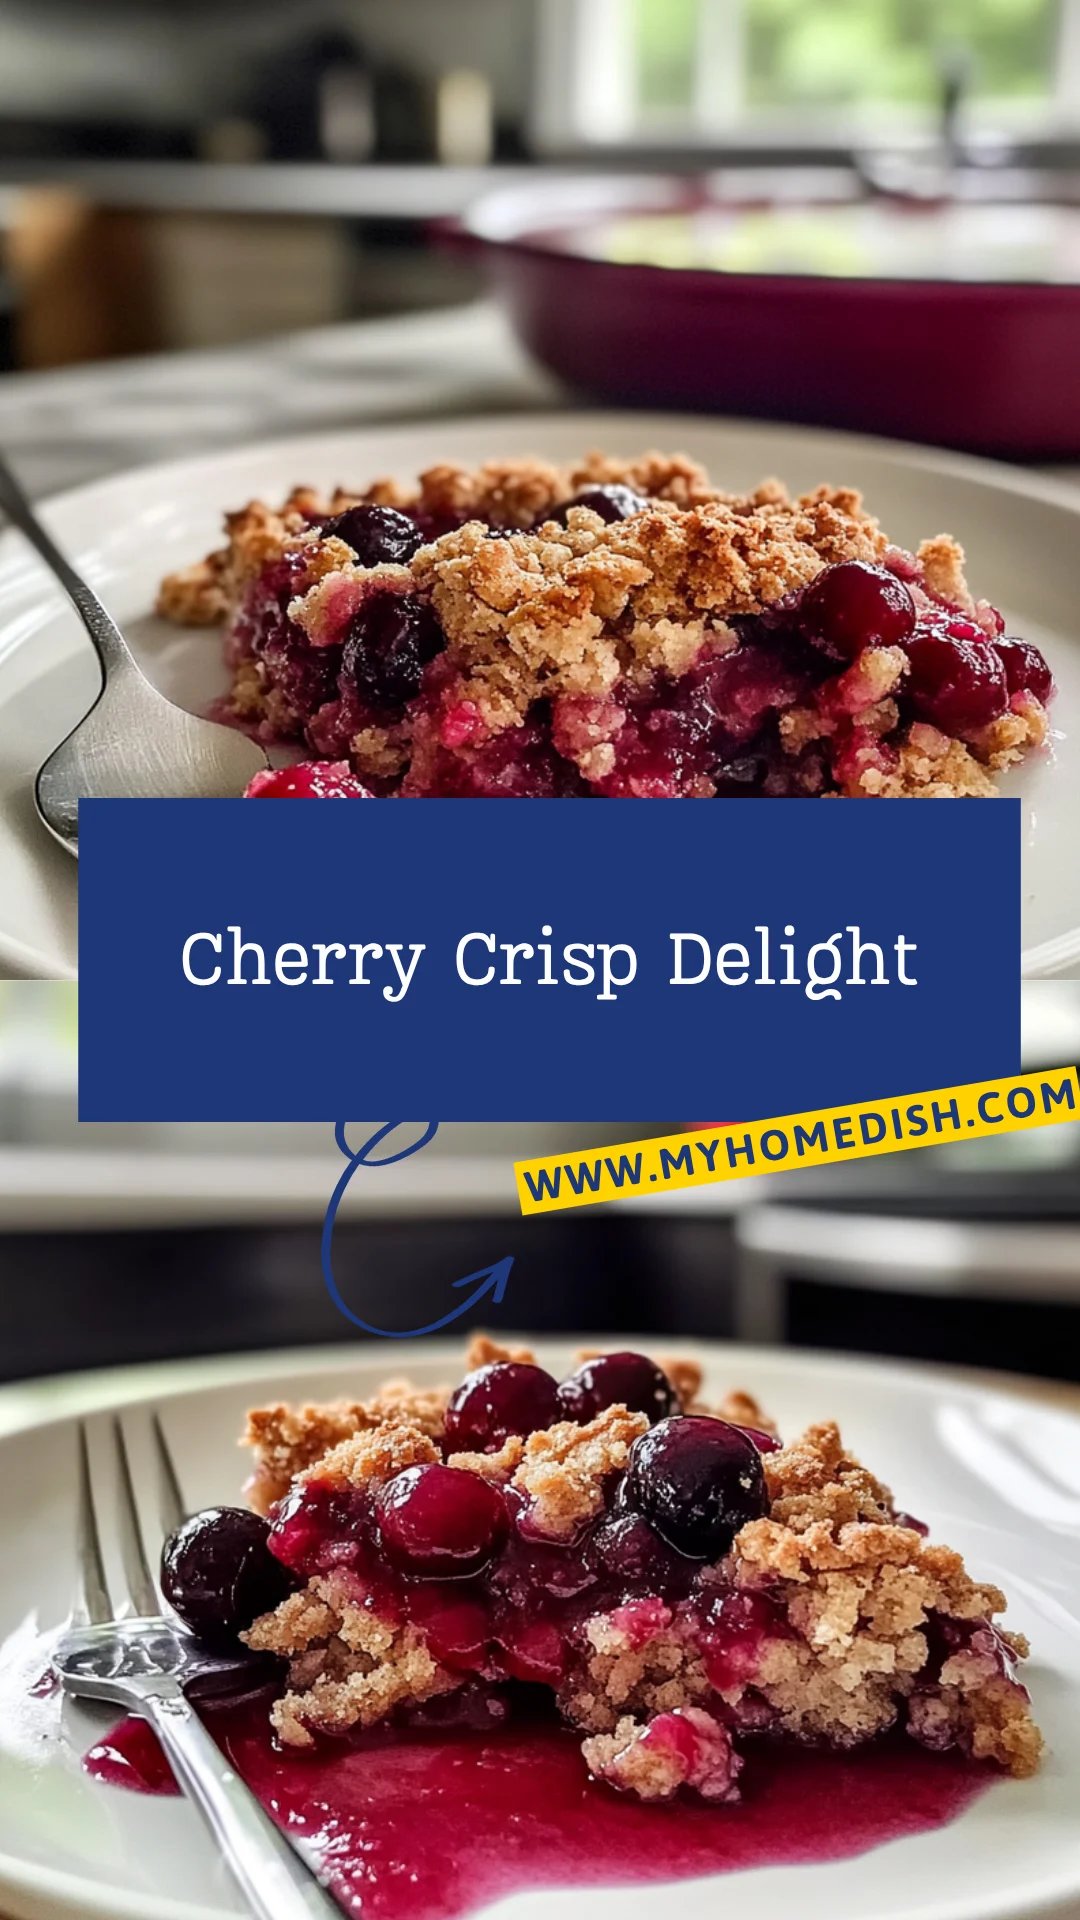
1. Preheat the oven to 350°F (175°C). In a mixing bowl, combine the 4 cups of pitted cherries with 1 cup of granulated sugar, 2 tablespoons of cornstarch, 1 teaspoon of vanilla extract, and 1 teaspoon of lemon juice. Toss gently to coat the cherries evenly; they should glisten beautifully.
2. Mix the crisp topping in another bowl by combining 1 cup of old-fashioned oats, 1/2 cup of all-purpose flour, and 1/2 cup of packed brown sugar. Pour in 1/2 cup of melted unsalted butter, then add optional sliced almonds and cinnamon if desired. Stir until it becomes crumbly.
3. Spread the cherry mixture evenly in a baking dish, creating a colorful layer at the bottom. Then sprinkle the delicious crisp topping generously over the cherries. Bake for about 30 minutes or until the topping turns golden brown and you see the cherries bubbling joyfully around the edges.
4. Cool slightly before serving to let those flavors meld together beautifully. Enjoy warm on its own or topped with a scoop of vanilla ice cream for extra indulgence!
Optional: Serve with a dollop of whipped cream for an extra touch.
Exact quantities are listed in the recipe card below.
Secrets to Perfect Cherry Crisp
- Cherry Selection: Use fresh, ripe cherries for the best flavor. If they’re overly tart, increase the sugar slightly to balance the taste.
- Thickening Agent: Don’t skip the cornstarch! It helps achieve a perfect consistency by thickening the cherry juices as they bake.
- Taste Test: Adjust the sugar based on your cherry sweetness. Always taste your filling before baking to ensure it’s just right.
- Crisp Texture: For a crunchier topping, bake a few extra minutes until it’s golden brown. Just keep an eye on it to avoid burning.
- Butter Quality: Use real unsalted butter for the crisp topping; it enhances flavor while allowing you to control the saltiness.
- Serving Suggestion: Serve warm with a scoop of vanilla ice cream for that delightful contrast of temperatures and flavors in your Cherry Crisp!
How to Store and Freeze Cherry Crisp
- Room Temperature: Enjoy your Cherry Crisp warm out of the oven for up to 2 hours. After that, cover it loosely to maintain freshness.
- Fridge: Store leftover Cherry Crisp in an airtight container in the fridge for up to 3 days. This keeps the topping crisp and the filling flavorful.
- Freezer: For longer storage, freeze the unbaked Cherry Crisp wrapped tightly in plastic wrap and aluminum foil for up to 3 months. Bake directly from frozen when ready.
- Reheating: To reheat, warm individual portions in the microwave for about 30 seconds or bake at 350°F (175°C) for 10-15 minutes until heated through.
Cherry Crisp Your Way
Feel free to let your creativity shine as you customize this delightful dessert to suit your taste.
- Sweetener Swap: Replace granulated sugar with honey or maple syrup for a natural touch. Adjust the amount based on sweetness preference, enhancing the flavor profile beautifully.
- Berry Boost: Mix in 1 cup of blueberries or raspberries with the cherries for added tartness and a burst of color. The combination creates a delightful medley that’s sure to impress.
- Citrus Zing: Add the zest of one orange or lime along with the lemon juice for an extra layer of brightness. This twist elevates the whole dish, making it refreshingly vibrant.
- Nutty Crunch: Substitute pecans or walnuts for sliced almonds in the topping. Their rich flavor will add depth and a satisfying crunch that pairs perfectly with sweet cherries.
- Gluten-Free: Use almond flour instead of all-purpose flour for a gluten-free option. This swap not only accommodates dietary needs but also infuses a lovely nutty flavor into the crisp.
- Spicy Kick: Sprinkle in 1/4 teaspoon of cayenne pepper or cardamom to the filling for a surprising warmth. This subtle heat contrasts beautifully with the sweetness of the cherries, creating a unique experience.
- Vegan Delight: Replace butter with coconut oil and use flaxseed meal mixed with water as an egg substitute in other recipes. This keeps your cherry crisp plant-based while still being deliciously decadent!
- Oat Variation: Try using coconut flakes or crushed graham crackers instead of oats for a different texture and taste. Each variation brings its own charm, making every bite uniquely enjoyable!
Make Ahead Options

Preparing Cherry Crisp is a breeze, making it ideal for meal prep enthusiasts. You can pre-pit 4 cups of fresh cherries and mix them with 1 cup of granulated sugar, 2 tablespoons of cornstarch, 1 teaspoon of vanilla extract, and 1 teaspoon of lemon juice up to 24 hours in advance. For the crisp topping, combine 1 cup of old-fashioned oats, 1/2 cup of all-purpose flour, 1/2 cup of packed brown sugar, 1/2 cup of melted unsalted butter, and if you like, add in 1/2 cup of sliced almonds and 1/2 teaspoon of cinnamon. Store both mixtures separately in airtight containers in the refrigerator for up to 3 days. When you’re ready to enjoy your delicious Cherry Crisp, simply assemble the filling and topping in your baking dish and bake at 350°F (175°C) for about 30 minutes until golden brown and bubbling. This approach not only saves time but also ensures that every bite is as fresh and delightful as if it were made in the moment!
Cherry Crisp Questions Answered
How do I select the best cherries for my Cherry Crisp?
Look for fresh, ripe cherries that are deep in color and firm to the touch. Sweet varieties like Bing or Rainier work beautifully, but you can adjust the sugar based on their sweetness. Aim for 4 cups of pitted cherries for this recipe, and if you’re feeling adventurous, a mix of sweet and tart cherries can add a delightful complexity!
Can I make Cherry Crisp ahead of time?
Absolutely! You can prepare the filling and topping separately up to 24 hours in advance. Just store them in airtight containers in the fridge. When you’re ready to bake, combine them as directed and enjoy that freshly baked aroma filling your home after just 30 minutes in a preheated oven at 350°F (175°C).
What’s the best way to store leftover Cherry Crisp?
If you have leftovers (though it’s hard to resist!), let them cool completely before transferring into an airtight container. It can be stored in the fridge for up to 3 days. To reheat, simply pop it back into a 350°F (175°C) oven until warmed through, about 15-20 minutes.
Can I freeze Cherry Crisp for later enjoyment?
Yes! To freeze, assemble your unbaked Cherry Crisp in a freezer-safe dish and cover tightly with plastic wrap and aluminum foil. It will keep well for up to 3 months. When you’re ready to bake, you don’t need to thaw; just pop it directly into the oven at 350°F (175°C) and bake for about 40-45 minutes until bubbly.
What if my topping is too dry or too wet?
If your crisp topping seems too dry, try adding a little more melted butter or a splash of water until it reaches that crumbly texture you want. Conversely, if it’s too wet, add a sprinkle more oats or flour to absorb excess moisture. Remember, you want it crumbly yet cohesive!
How can I make this recipe gluten-free?
To make your Cherry Crisp gluten-free, simply substitute all-purpose flour with a gluten-free baking blend and ensure your oats are certified gluten-free. This way, you maintain that beautiful texture while accommodating dietary needs without sacrificing flavor!