
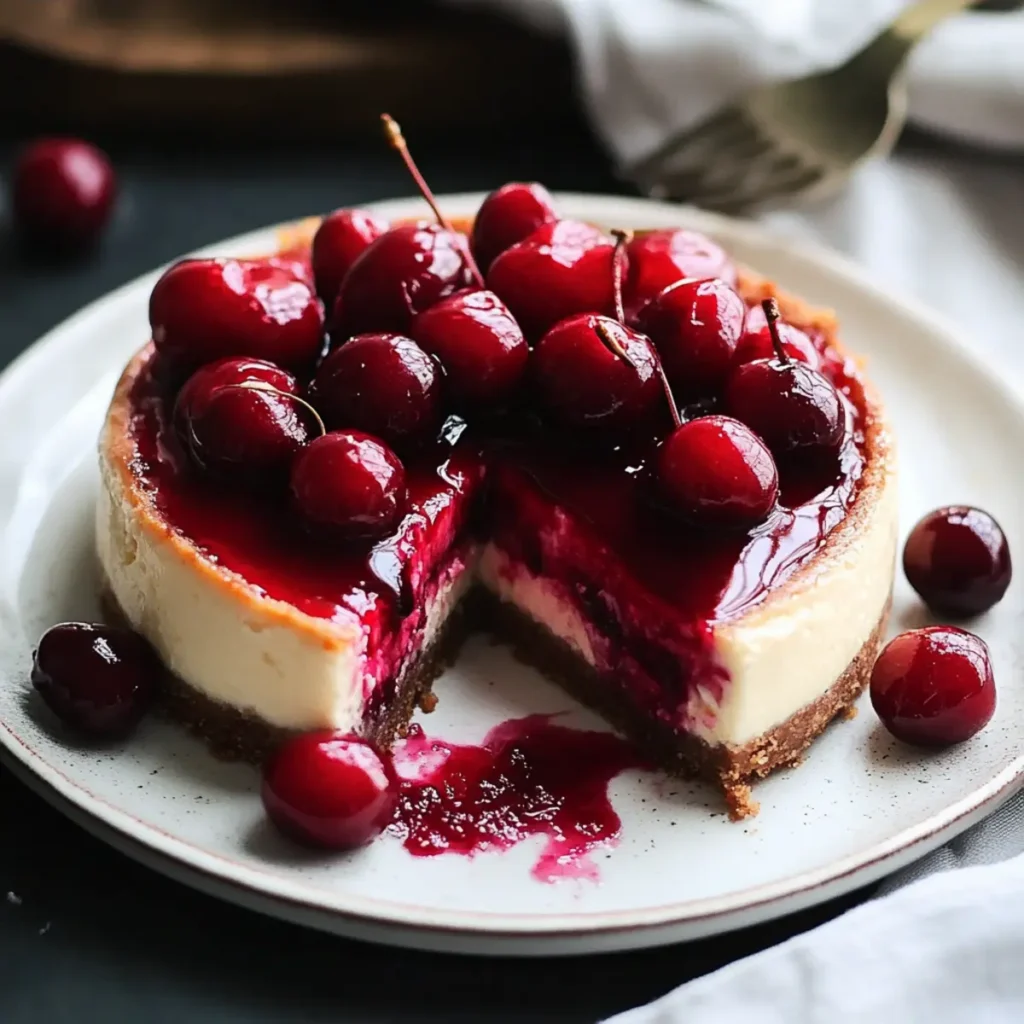
The moment you slice into a luscious Cherry Cheesecake, you can almost hear angels singing as the cream cheese filling glides through the cherry-topped surface. Each creamy bite is a delightful contrast to the crunchy graham cracker crust, creating a flavor experience that charms even the most discerning dessert enthusiasts. Imagine savoring this dessert at gatherings, celebrating birthdays, or perhaps just indulging on a quiet evening at home. And honestly, who can resist the vibrant colors and heavenly aroma wafting through the air?
This Cherry Cheesecake is more than just a dessert; it’s a celebration on a plate. My fondest memory is sharing this sweet treat with family on a sunny summer day. As the cherries glistened in the sunlight, everyone’s faces lit up with joy—there was laughter, love, and a bit of friendly competition to see who could devour the most slices. This dessert is perfect for any occasion, promising to evoke joy and satisfaction with every bite.
Why You'll Love This Cherry Cheesecake
- This incredible Cherry Cheesecake transforms simple everyday ingredients into restaurant-quality flavors that will blow your mind completely.
- Foolproof recipe techniques guarantee perfect results every single time, making even novice cooks feel like professional chefs instantly.
- Stunning visual appeal with gorgeous colors and mouthwatering aromas creates the ultimate Instagram-worthy dish for any special occasion.
- Endlessly adaptable for different dietary needs while working beautifully for meal prep, date nights, or entertaining large groups effortlessly.
Ingredients for Cherry Cheesecake
Here’s what you’ll need to make this delicious Cherry Cheesecake:
1.5 cups graham cracker crumbs – The foundation for our crust, providing a sweet and crunchy base; consider using gluten-free crumbs if desired.
0.5 cups granulated sugar – This pairs perfectly with the crust and helps balance the richness of the filling.
0.5 cups unsalted butter (melted) – To bind the crust mixture and add a rich flavor with a buttery taste.
16 oz cream cheese (softened) – The star of the show; make sure it’s at room temperature for a smooth filling.
0.75 cups granulated sugar – Sweetens the filling just right, complementing the tanginess of the cream cheese.
0.5 cups sour cream – Adds creaminess and a slight tang, enriching the flavor profile of our cheesecake.
1 tbsp vanilla extract – To add warmth and depth of flavor to the filling; use pure extract for the best taste.
3 large eggs – Essential for structure; they help keep everything together while adding richness.
2 cups fresh or frozen cherries – Sweet or tart, these beauties will top your cheesecake and offer bursts of flavor.
0.25 cups granulated sugar – For the cherry topping, to enhance their natural sweetness.
1 tbsp cornstarch – This thickens the cherry topping, giving it a luscious, syrupy texture.
How to Make Cherry Cheesecake
Follow these simple steps to prepare this delicious Cherry Cheesecake:
Step 1: Preheat the Oven
Preheat your oven to 325°F (163°C). It’s essential to get this step done early so that the oven is hot and ready when it’s time to bake your cheesecake.
Step 2: Prepare the Crust
In a medium bowl, combine 1.5 cups graham cracker crumbs, 0.5 cups granulated sugar, and 0.5 cups melted unsalted butter. Mix until well combined and the crumbs resemble wet sand. Press this mixture into the bottom of a springform pan, creating an even layer. Use the back of a measuring cup to pack it tightly.
Step 3: Make the Filling
In another large mixing bowl, beat 16 oz softened cream cheese with 0.75 cups granulated sugar until smooth and creamy. Add 0.5 cups sour cream, 1 tablespoon vanilla extract, and the eggs, one at a time, mixing well after each addition until combined and fluffy.
Step 4: Add the Cherries
Gently fold in the 2 cups of fresh or frozen cherries into the cream cheese mixture. Pour this delightful blend over the prepared crust in the springform pan, spreading it evenly.
Step 5: Bake the Cheesecake
Place your cheesecake in the preheated oven and bake for 60 minutes, or until set. It’s normal for the center to be a little wobbly; it will firm up as it cools. Once baked, turn off the oven and let the cheesecake sit inside for about an hour—this helps avoid cracks on the surface.
Step 6: Prepare the Cherry Topping
In a small saucepan, combine 0.25 cups granulated sugar and 1 tablespoon cornstarch. Add a splash of water and cook over medium heat until thickened to your liking. Pour this mix over the cooled cheesecake, letting it cascade over the sides like a beautiful cherry waterfall!
Allow the cheesecake to cool completely before covering it and placing it in the refrigerator for at least 4 hours—or overnight if you can resist. Just before serving, slice it up and watch everyone fall in love.
Now go ahead, grab yourself a slice, and watch as this Cherry Cheesecake steals the show. Its creamy texture, wonderful hints of cherry, and crunchy crust will always bring smiles to your table. Enjoy!

This showstopping Cherry Cheesecake delivers restaurant-quality results using simple ingredients you probably already have at home. The perfect balance of textures and flavors creates an unforgettable dining experience that will have everyone asking for seconds. Picture-perfect presentation with vibrant colors makes this dish absolutely Instagram-worthy and guaranteed to impress any dinner guest. Incredibly versatile recipe that works beautifully for weeknight dinners, meal prep, special occasions, or even outdoor entertaining sessions.
Perfecting Cherry Cheesecake Cooking Process
Start by preparing the crust while your oven preheats, then whip together the creamy filling. Once the cheesecake is in the oven, prepare your cherry topping for a seamless cooking process that yields delicious results every time.
Add Your Touch to Cherry Cheesecake
Feel free to swap out cherries for seasonal berries or try adding a swirl of chocolate or caramel. Experiment with flavored extracts like almond or citrus for a unique twist, making this Cherry Cheesecake truly your own.
Storing & Reheating Cherry Cheesecake
Store any leftover Cherry Cheesecake in an airtight container in the fridge for up to five days. For best results, serve cold directly from the fridge; reheating isn’t necessary and may change the texture.
Chef's Helpful Tips for Cherry Cheesecake
- This professional-quality Cherry Cheesecake relies on precise timing and temperature control to achieve restaurant-standard results consistently.
- Master the art of mise en place by prepping all ingredients beforehand, ensuring smooth execution and preventing any last-minute cooking disasters.
- The secret lies in layering flavors throughout the cooking process rather than seasoning only at the end for maximum depth.
- Pro tip: let the finished dish rest for optimal texture and flavor development before serving to hungry guests waiting eagerly.
One time, I brought this Cherry Cheesecake to a potluck, and by the end of the night, all that was left was a lonely slice that I had to bring home—definitely a compliment to my baking skills!
FAQs About Cherry Cheesecake
What is Cherry Cheesecake?
Cherry Cheesecake is a delightful dessert that combines a creamy cheesecake filling with a cherry topping, all atop a crunchy graham cracker crust. This dessert is loved for its rich and tangy flavors, making it a favorite at gatherings and special occasions. The contrast between the smooth cream cheese and the vibrant cherry layer creates a treat that is visually stunning and incredibly satisfying to eat. Perfectly chilled, Cherry Cheesecake is often served during holidays, celebrations, or simply as a sweet indulgence after dinner.
How do you make Cherry Cheesecake?
To make Cherry Cheesecake, start by preparing the crust with graham cracker crumbs, sugar, and melted butter. Press this mixture into the bottom of a springform pan. Next, beat together softened cream cheese and sugar until smooth, then add sour cream, vanilla, and eggs. Gently fold in fresh or frozen cherries before pouring the mixture over the crust. Bake until set, let it cool, and top with a cherry glaze for finishing touches. Chill for several hours before serving for optimum flavor and texture.
Can Cherry Cheesecake be frozen?
Yes, Cherry Cheesecake can be frozen, making it a great option for meal prep or preparing ahead for events. To freeze, wrap the cheesecake tightly in plastic wrap and then in foil to prevent freezer burn. When you’re ready to enjoy it, simply thaw it in the refrigerator overnight. The texture may change slightly after freezing, but it will still taste delicious. Just remember to add your cherry topping after thawing for the best fresh flavor and appearance.
What are some variations of Cherry Cheesecake?
There are plenty of variations you can try with Cherry Cheesecake! For a playful twist, you might swap the cherries with other fruits like blueberries, raspberries, or strawberries, creating different flavors and vibrant colors. You could also incorporate flavors such as chocolate or caramel by drizzling them on top or swirling them into the cheesecake batter. Additionally, using different types of crusts, like Oreo or cookie crusts, can alter the flavor profile while still providing that creamy goodness.
Conclusion for Cherry Cheesecake
In conclusion, the Cherry Cheesecake is a delectable dessert that balances rich creaminess with the sweet-tart flavor of cherries, making it a popular choice at gatherings. Its versatility allows for creative variations and playful twists that can cater to different tastes. By following the simple steps to make Cherry Cheesecake and incorporating personal touches, you can impress your family and friends. This delightful treat is bound to leave everyone wanting more, solidifying its place in your dessert repertoire.
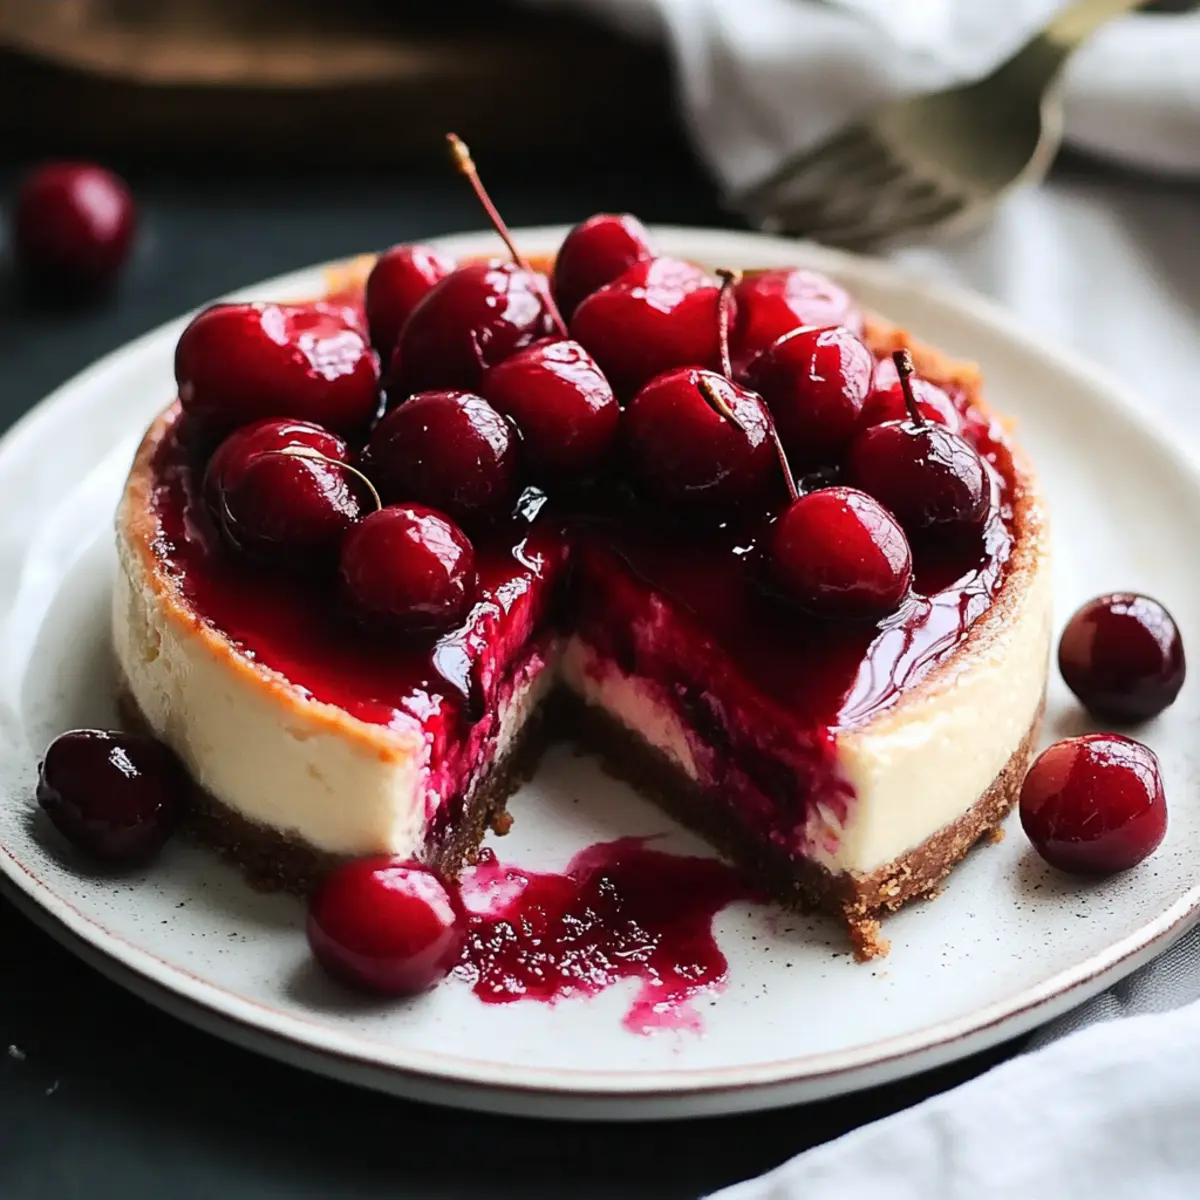
Delicious Cherry Cheesecake Recipe for Any Occasion
Ingredients
Equipment
Method
- Preheat the oven to 325°F (163°C).
- In a bowl, combine graham cracker crumbs, 0.5 cups granulated sugar, and melted butter. Press this mixture into the bottom of a springform pan.
- In another bowl, beat the cream cheese with 0.75 cups granulated sugar until smooth.
- Add sour cream, vanilla extract, and eggs one at a time, mixing well after each addition.
- Fold in the cherries, then pour the cream cheese mixture over the crust in the springform pan.
- Bake for 60 minutes, or until set. Allow to cool completely.
- In a small saucepan, combine 0.25 cups granulated sugar and cornstarch with a little water. Cook until thickened, then pour over cooled cheesecake.
- Refrigerate for at least 4 hours before serving.