
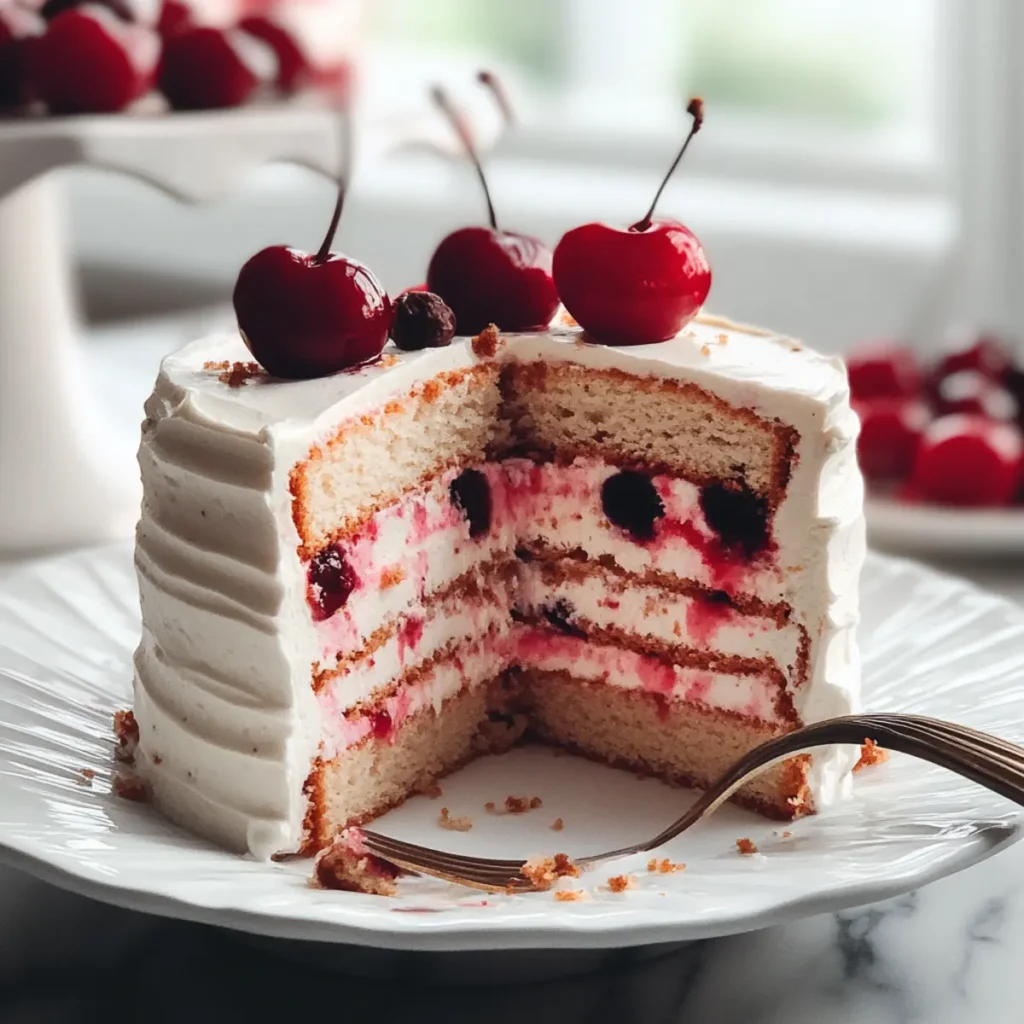
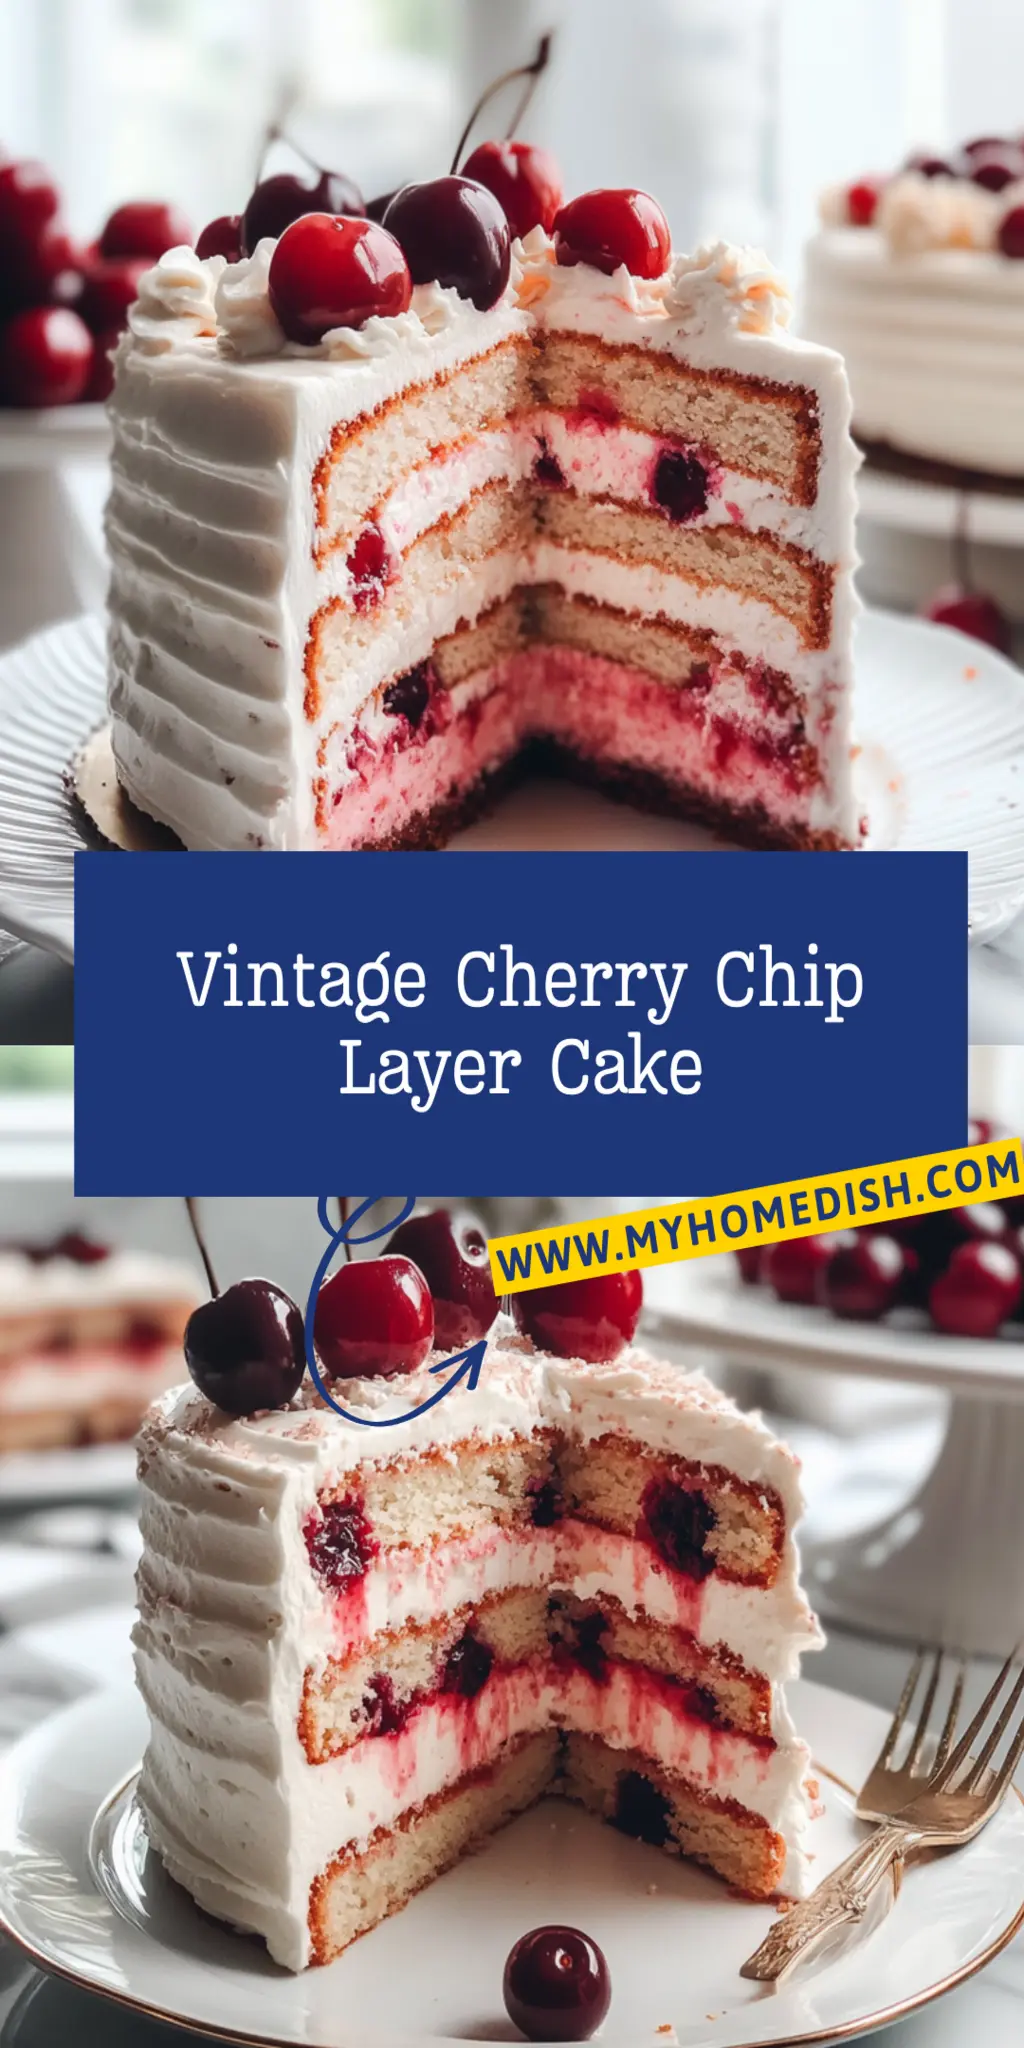
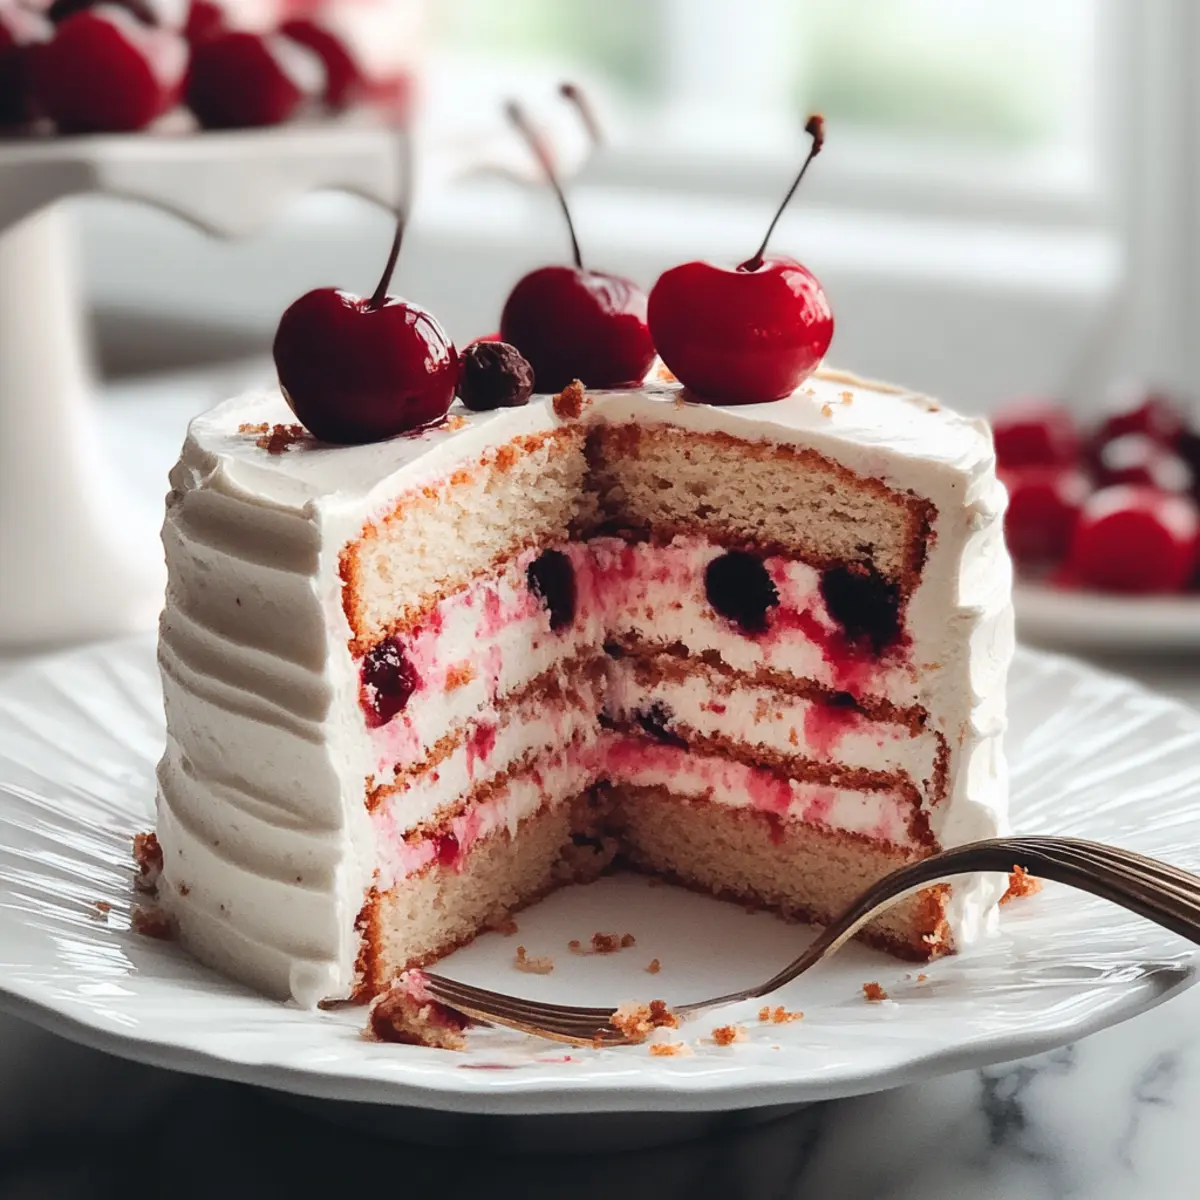
There’s nothing like the delightful combination of sweet cherries and rich chocolate chips, especially when they come together in a Vintage Cherry Chip Layer Cake. This dessert embodies nostalgia, evoking memories of summer picnics and family gatherings. The vibrant pink hues mixed with the dark chocolate create a color palette that’s as appealing as it is delicious, making it a show-stopping treat for any occasion.
Imagine slicing into this cake, the soft layers revealing their sweet cherry and chocolate treasures. Each bite bursts with flavor, drenching your taste buds in an unforgettable experience. Whether you’re baking for a birthday party or simply want to impress your friends at a casual get-together, this Vintage Cherry Chip Layer Cake is sure to steal the spotlight.
Why You'll Love This Vintage Cherry Chip Layer Cake
- This incredible Vintage Cherry Chip Layer Cake transforms simple everyday ingredients into restaurant-quality flavors that will blow your mind completely.
- Foolproof recipe techniques guarantee perfect results every single time, making even novice cooks feel like professional chefs instantly.
- Stunning visual appeal with gorgeous colors and mouthwatering aromas creates the ultimate Instagram-worthy dish for any special occasion.
- Endlessly adaptable for different dietary needs while working beautifully for meal prep, date nights, or entertaining large groups effortlessly.
Ingredients for Vintage Cherry Chip Layer Cake
Here’s what you’ll need to make this delicious Vintage Cherry Chip Layer Cake:
2 cups all-purpose flour – Use a good quality flour for the best texture; it’s the foundation of your cake.
1 ½ cups granulated sugar – This sweetens your cake, but also helps retain moisture, keeping it soft and tender.
1 tbsp baking powder – This leavening agent ensures your cake rises beautifully, giving it a light and fluffy texture.
½ tsp salt – A pinch of salt enhances the flavor and balances the sweetness.
¾ cup unsalted butter, softened – Ensure it’s at room temperature for easy creaming; this fat adds richness.
4 large eggs – Eggs provide structure and moisture, lending to that perfect cake crumb.
1 cup whole milk – Adds moisture and a tender texture; feel free to use almond milk for a lighter twist.
2 tsp cherry extract – This aroma is key for enhancing the cherry flavor; always choose pure extracts for the best taste.
1 cup semi-sweet chocolate chips – These little morsels of joy create delightful bursts of flavor in every slice.
Buttercream frosting (for layering) – A silky finishing touch, making it impossible to resist this cake’s charm.
How to Make Vintage Cherry Chip Layer Cake
Follow these simple steps to prepare this delicious Vintage Cherry Chip Layer Cake:
Step 1: Preheat the Oven
Preheat your oven to 350°F (175°C). While that’s warming up, grease and flour two round cake pans generously to ensure easy removal later.
Step 2: Prepare the Dry Ingredients
In a bowl, whisk together the all-purpose flour, baking powder, and salt. This simple blend is the dry foundation your cake needs to keep its structure while remaining moist and flavorful.
Step 3: Cream the Butter and Sugar
In another bowl, beat the softened unsalted butter and granulated sugar together until light and fluffy. This will usually take about 3-5 minutes. Add the eggs in one at a time, beating well after each addition.
Step 4: Add Milk and Flavorings
Now mix in the whole milk and cherry extract until just combined. This is where the magic happens as the cherry flavor begins to shine through.
Step 5: Combine Wet and Dry Ingredients
Gradually add the dry ingredients into the wet mixture until smooth and no lumps remain. Take care not to overmix; you want this cake to stay tender and light.
Step 6: Fold in the Chocolate Chips
Gently fold the semi-sweet chocolate chips into your batter. The goal is to evenly distribute them without deflating your mixture.
Step 7: Bake
Divide the batter evenly between the prepared cake pans. Now it’s time for the oven! Bake for 25-30 minutes or until a toothpick inserted in the center comes out clean. Be patient—an amazing aroma will start to fill your kitchen!
Step 8: Cool and Frost
Once baked, remove the cake layers from the oven and allow them to cool completely. After they have cooled down, feel free to frost with your favorite buttercream frosting. Layer generously for that impressive finish!
And there you have it—the perfect Vintage Cherry Chip Layer Cake! Serve it up at your next gathering and watch as it disappears in no time. Every slice offers a delightful combination of cherry sweetness and chocolatey goodness, sure to create happy faces all around the table. Enjoy baking and the even better enjoyment it brings!

You Must Know About Vintage Cherry Chip Layer Cake
- This showstopping Vintage Cherry Chip Layer Cake delivers restaurant-quality results using simple ingredients you probably already have at home.
- The perfect balance of textures and flavors creates an unforgettable dining experience that will have everyone asking for seconds.
- Picture-perfect presentation with vibrant colors makes this dish absolutely Instagram-worthy and guaranteed to impress any dinner guest.
- Incredibly versatile recipe that works beautifully for weeknight dinners, meal prep, special occasions, or even outdoor entertaining sessions.
Perfecting Vintage Cherry Chip Layer Cake Cooking Process
Start by creaming your butter and sugar together before adding eggs. This ensures a light, fluffy texture. While the cake layers are baking, take a moment to prepare your frosting. Multitasking like this saves time and keeps everything deliciously streamlined.
Add Your Touch to Vintage Cherry Chip Layer Cake
Feel free to substitute the cherry extract with almond or vanilla for a different flavor profile. You can also add chopped nuts for crunch or swirl in some raspberry puree for an extra fruity touch. Personalizing your cake makes it uniquely yours.
Storing & Reheating Vintage Cherry Chip Layer Cake
Store any leftover cake in an airtight container at room temperature for up to three days. If you’ve got a slice remaining, pop it in the microwave for about 10-15 seconds to enjoy that fresh-baked taste again.
Chef's Helpful Tips for Vintage Cherry Chip Layer Cake
- This professional-quality Vintage Cherry Chip Layer Cake relies on precise timing and temperature control to achieve restaurant-standard results consistently.
- Master the art of mise en place by prepping all ingredients beforehand, ensuring smooth execution and preventing any last-minute cooking disasters.
- The secret lies in layering flavors throughout the cooking process rather than seasoning only at the end for maximum depth.
- Pro tip: let the finished dish rest for optimal texture and flavor development before serving to hungry guests waiting eagerly.
Often, I remember making this cake for my best friend’s birthday. The look on her face when she took the first bite was priceless, and I knew all those layers of flavor had hit the spot.
FAQs About Vintage Cherry Chip Layer Cake
What is Vintage Cherry Chip Layer Cake?
Vintage Cherry Chip Layer Cake is a delightful dessert that combines the flavors of cherries and chocolate in a moist, layered cake. This cake typically features a soft cake base flavored with cherry extract and studded with semi-sweet chocolate chips. It’s often frosted with a creamy buttercream icing, making it not just a treat for the taste buds, but a visual delight, too. This classic recipe is perfect for various occasions, from birthdays to casual family gatherings.
How can I make my Vintage Cherry Chip Layer Cake more unique?
To add a personal twist to your Vintage Cherry Chip Layer Cake, consider experimenting with the flavors. You can substitute the cherry extract for almond or vanilla for a different taste profile. Adding chopped nuts gives an added crunch, while a swirl of fresh raspberry puree will enhance the fruity notes. These simple adjustments let you customize the cake and make it a standout on any dessert table.
Can I store the Vintage Cherry Chip Layer Cake? If so, how?
Yes, you can store your Vintage Cherry Chip Layer Cake! Keep any leftovers in an airtight container at room temperature for up to three days. If you want to preserve its freshness longer, you can refrigerate it. When you’re ready to enjoy a slice, a quick zap in the microwave for about 10-15 seconds will bring back that just-baked taste. Enjoying this cake a day or two later can still be a delightful experience!
What occasions are best for serving Vintage Cherry Chip Layer Cake?
Vintage Cherry Chip Layer Cake is versatile and perfect for a wide variety of occasions! Whether you’re celebrating a birthday, hosting a casual family gathering, or looking for a sweet treat after dinner, this cake fits the bill. Its beautiful, colorful layers also make it ideal for wedding receptions, anniversary parties, or any festive gathering where you want to impress your guests with an eye-catching dessert.
Conclusion for Vintage Cherry Chip Layer Cake
In summary, the Vintage Cherry Chip Layer Cake is a wonderful dessert that combines nostalgic flavors in a striking way. Its moist layers and chocolatey goodness make it suitable for any occasion, and with a few simple adjustments, you can make it truly your own. Whether you serve it at a special event or enjoy it on a cozy evening, this cake is sure to impress. Don’t wait too long to bake your Vintage Cherry Chip Layer Cake; it promises both flavor and fun for everyone!
Vintage Cherry Chip Layer Cake
Ingredients
Equipment
Method
- Preheat your oven to 350°F (175°C). Grease and flour two round cake pans.
- In a bowl, whisk together flour, baking powder, and salt.
- In another bowl, cream softened butter and sugar until light and fluffy. Add eggs one at a time.
- Mix in whole milk and cherry extract until just combined. Gradually add the dry ingredients until smooth.
- Gently fold in chocolate chips.
- Divide the batter evenly between prepared pans and bake for 25-30 minutes or until a toothpick comes out clean.
- Let cake layers cool completely before frosting with buttercream.